FaxPress + EFI SendMe Integration
Castelle FaxPress connector enables EFI SendMe customers to fax documents directly from any SendMe MFD-compatible device. Once installed, the FaxPress button shows up on SendMe main screen. To fax a document, users are prompted to scan and enter a list of recipient names and fax numbers. Recipient information can be entered directly via the SendMe console or selected from any database address book. Users may also select which cover page to use and enter a short message to appear on the cover page. An administration utility is provided to allow supervisors to select which FaxPress server and user account to use when faxing.
Installation Guide
To install the plug-in:
| 1. | The installation starts with a welcome screen. |
| 2. | Select the name of shortcuts group under the Start menu. |
| 3. | The snstallation summary screen is displayed. |
| 4. | InstallShield copies the files and registers the connector |
| 5. | Installation complete. Check Configure to launch the admin configuration tool. |
Administration Guide
Once the connector is installed, a Castelle Fax Connector for Send Me is added to the Start menu.
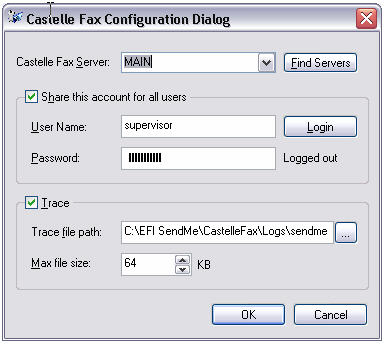
This tool allows Administrators to select the following parameters:
| ■ | FaxPress server to use when faxing through SendMe (Click Find Servers to display a list of all FaxPress servers on your network. If FaxPress server resides on a different network segment, you can manually specify the IP address of the server.) |
| ■ | The user account to use when faxing. There are two modes supported: |
| ■ | All users send from a shared account and therefore do not need to login individually in order to fax. In this case, check the Share this account for all users and specify a user name and password. You can click Login to verify the information and connectivity with the server. |
| ■ | Each user will need to login using their own credentials on FaxPress before being able to send a fax. In this case, uncheck the Share this account for all users. |
For troubleshooting, you may turn on tracing and specify the path where the trace file should be generated and the maximum size of the file.
Sending a Fax
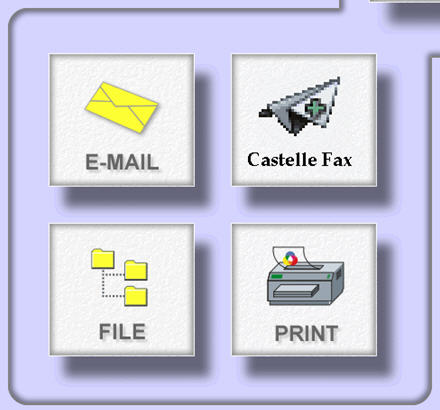
When the connector is installed, a Castelle Fax button is added to the SendMe main control panel.
The first step in sending the fax is to scan the document. The following screenshot shows a scanned document (3 pages).
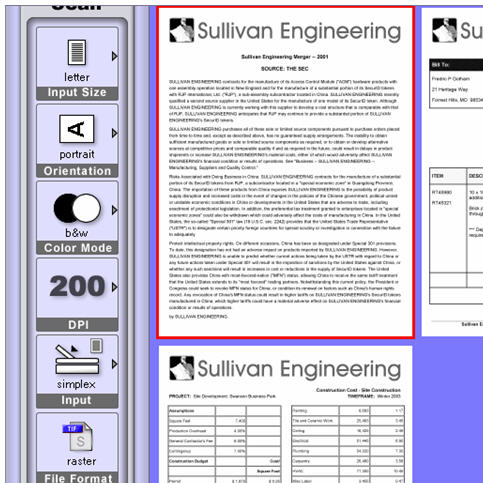
When scanning is done, click the Send tab:

A compose fax window will appear to allow you to select recipients and compose a cover page message.
To add or remove recipients from the list, click the To button. A Recipients window will appear to allow you to either enter fax recipients directly or select them from an address book.
To enter recipients’ information directly, select the Direct fax Number radio button and enter the fax number, name and company of the recipient (fax number is the only mandatory field, the rest are optional). After you enter the recipient information click ‘To ->’ to add it to the list. To remove a recipient from the list, select the entry and click the <- Delete button.
To select recipients from the address book, select the Castelle Fax Address book radio button. The screen will switch to show the address book:
For information about setting up FaxPress database address books, please refer to the FaxPress Administrator Guide.
Each phonebook may have multiple views (groups). You can select the group by clicking the Phonebooks combo box and enter a text in the quick search field. Only those items that contain the text will show up in the list .
The address book control allows you to select and highlight multiple recipients, and then click To-> to add them to the list.
You can combine recipients from the address book with recipients that you enter directly from the SendMe console.
|
FaxPress WebHelp
Last Updated: 9/12/2007
E-mail this page |
Castelle 855 Jarvis Drive, Suite 100 Morgan Hill, CA 95037 Toll-free 800.289.7555 Tel 408.852.8000 Fax 408.852.8100 |